Are your photos not turning out as expected? Dive into the 9 crucial factors that may be holding you back from capturing stunning images.
Photography is an art form that allows us to capture moments, emotions, and the beauty of the world around us. It’s a medium that offers endless possibilities for self-expression and storytelling.
However, despite the advancements in technology and the increasing availability of sophisticated cameras, many aspiring photographers find themselves falling short of their expectations.
If you’re reading this blog post, chances are you’re looking for answers as to why your photography skills may be lacking. Don’t worry, you’re not alone.
In this article, we’ll explore the 9 common reasons why you might be struggling to achieve the desired results in your photography journey. By identifying these pitfalls, you’ll gain valuable insights that will help you overcome them and take your skills to the next level.
1. It’s Not The Ride, It’s The Rider
A camera is just a tool. It captures images, sure, but it’s the person behind it who truly brings those images to life. It’s the photographer’s vision, skill, and creativity that make a photograph stand out.
Anyone can pick up a camera, press that shutter button, and get a shot. But let me tell you, creating good, professional-looking images requires much more than that.
It takes practice, knowledge, and a deep understanding of the art of photography.
Now, here’s a little secret for you: you don’t have to break the bank to get started. You really don’t.
When it comes to your first camera, you have plenty of options. You can go for a beginner or a semi-professional DSLR, or you can even use your trusty cellphone camera.
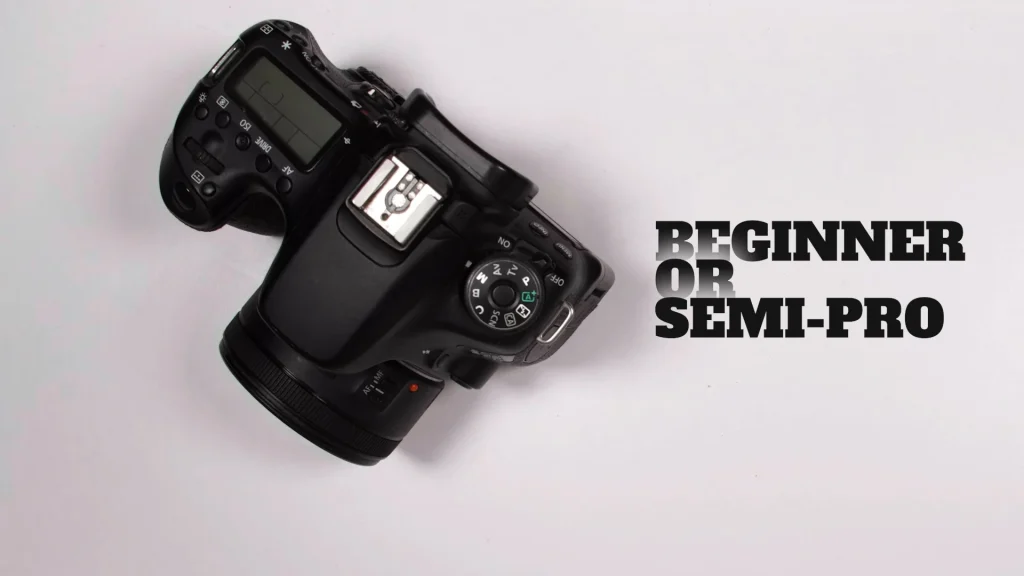

Believe it or not, some of the best and award-winning photographs out there have been taken with a simple phone camera.
Remember, it’s not the price tag on your camera that determines your skill level. It’s your dedication, passion, and willingness to learn and grow as a photographer.
2. Not Shooting Manual
When you’re starting out, the Auto Mode in your DSLR can be a helpful tool to get your feet wet. However, relying on it, in the long run, won’t benefit your photography journey.
Most modern DSLRs come equipped with a light meter. When you’re in AUTO mode, your camera detects the amount of light entering through the lens onto the sensor and automatically adjusts the shutter speed, aperture, and ISO.
But here’s the catch – while Auto Mode may give you a well-exposed shot, you have little to no control over the overall mood and creative elements of your image.
Important aspects like background blur, portraying motion or freezing the scene, and controlling noise and grain in low lighting conditions – all these factors are left to chance in Auto Mode.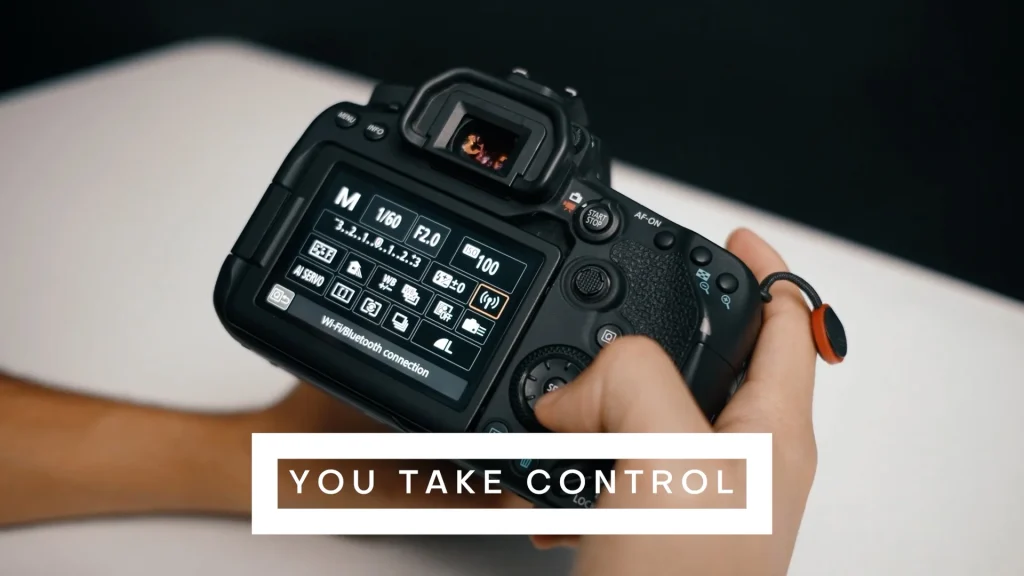
So, do yourself a favor and turn that camera mode dial to M. In manual mode, YOU TAKE CONTROL. You can independently adjust the shutter speed, aperture, and ISO values to get much better results.
3. You Have No Idea of Composition Techniques
If you’re not yet familiar with composition techniques, let me tell you, you’ve got a long way to go on your journey to becoming a better photographer. There’s a whole world of composition techniques waiting for you to explore, along with gaining technical knowledge and know-how.
One of the first techniques you should master is the rule of thirds. This technique will greatly improve how you compose your shots.
Imagine dividing your image using two horizontal lines and two vertical lines, creating a grid. Now, here’s the important part – you want to position the key elements of your scene along those lines or at the points where they intersect.
By creating an off-center composition, you’ll create an image that’s more visually pleasing and natural. It’s far more interesting than simply placing your subject right in the middle of the frame.
Another critical technique to improve perspective and depth in your photographs is the use of leading lines. Leading lines are lines within your image that guide the viewer’s eyes and draw attention to your subject or create a sense of depth and perspective.
4. You Don’t Care About Lighting
Without light, our photographs would be empty, devoid of life. But, it’s not just any light – it’s the correct use of lighting that forms the foundation of great photography.
Light is, without a doubt, the single most important element in your images. It has the ability to breathe life into your photos, giving them a magical quality.

Think of lighting as the brushstroke of your photograph – the tool that adds depth, character, and emotion to your subjects. It’s the lighting that defines how your subject is illuminated, and ultimately, it’s what gives your image its unique look and feel.
5. You Are Not Using Right Lenses
Let’s talk about a crucial component of your camera setup – THE LENS. While the camera sensor acts as the brain, the lens is undeniably the heart of your camera.
In fact, it holds immense importance in capturing exceptional images. One of the best investments you can make is in high-quality lenses. They play a vital role in determining sharpness, clarity, and overall image quality.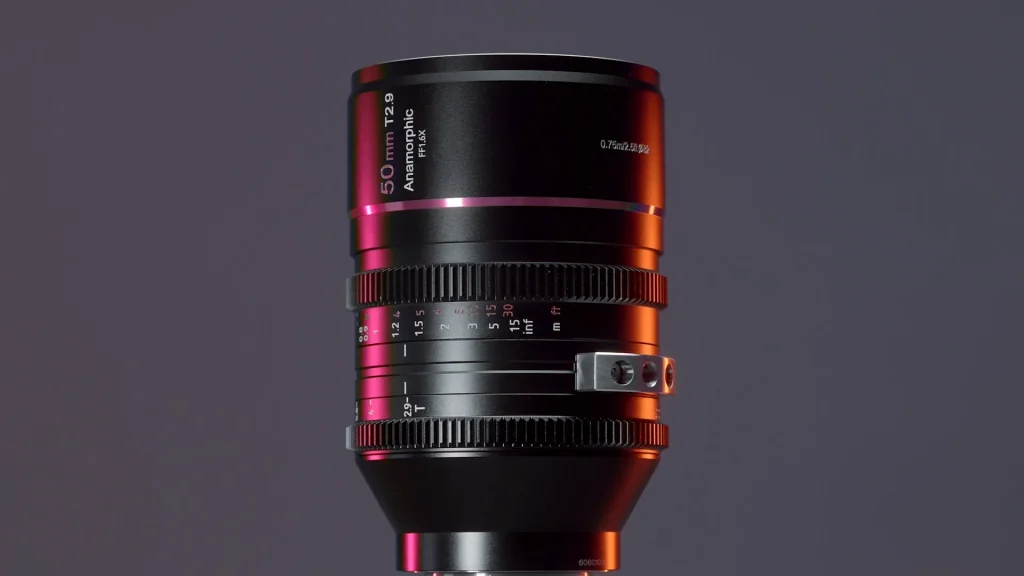
If you find it challenging to afford a particular lens, don’t worry. RENT IT! Renting lenses allows you to access top-quality gear without breaking the bank.
Speaking of high-quality lenses, both Sigma and Tamron are renowned manufacturers that offer exceptional lenses for Canon and Nikon cameras. These third-party lenses are often more affordable than their brand-name counterparts, yet they deliver remarkable image quality and sharpness.
When it comes to building your lens kit, make sure to include a 50mm lens.
This focal length is incredibly versatile, and when used on a full-frame camera, it provides a normal perspective and field of view similar to what we see with our own eyes.
Remember, selecting the right lens is crucial for the shooting environment and achieving the desired outcome of your photograph.
6. You Don’t Shoot RAW
So, what exactly is RAW? Well, it’s essentially an uncompressed file that is directly recorded off of your camera sensor. It captures all the raw data, preserving the highest possible quality of your image.
Having all that extra data at your disposal makes it much easier to adjust your exposure by several stops. Shooting in RAW gives you more flexibility and control during post-processing.
You can recover highlights, enhance shadow details, and precisely fine-tune your white balance.
But that’s not all – shooting RAW also helps you avoid or correct an unsightly phenomenon known as POSTERIZATION.
This is the banding effect often seen in bright skies, which can really ruin the look of your prints.
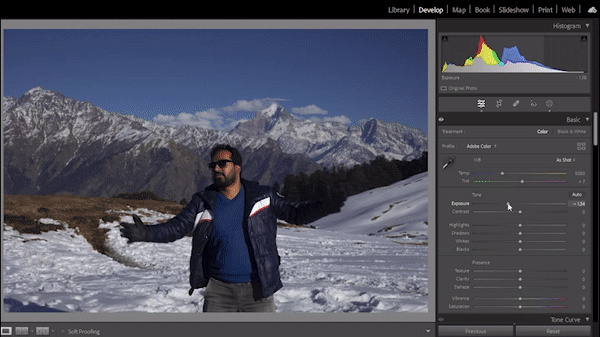
7. Your Horizon Is Not Straight
When it comes to landscape photography, there’s a simple but crucial factor that separates a good picture from a bad one – HOW STRAIGHT THE HORIZON IS?
When you’re capturing a beautiful landscape, always strive to keep the horizon as straight as possible. This helps create a sense of balance and visual harmony in your image.
To assist you in achieving a straight horizon, enable the grid on your camera’s display, which provides a visual reference for aligning your horizon.
Another handy option is to use the built-in electronic level indicator, which shows you the exact angle of your camera to ensure a straight horizon.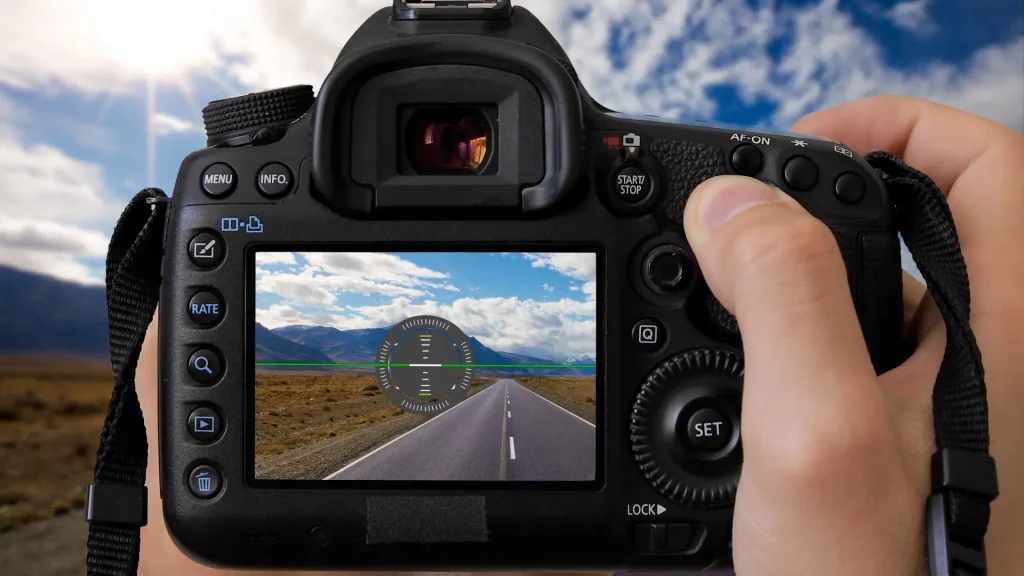
But what if you didn’t quite nail it in-camera? Well, fear not! With the Straightening/Angle tool in Lightroom, you can easily correct and align the horizon during the editing process.
8. Not Using A Tripod In Low Light Conditions
To compensate for the lack of light, you often end up increasing the ISO value to extreme levels, resulting in noisy images. However, There’s a simple solution to capture stunning, noise-free pictures in low light – just use a tripod and go for long exposures.
By using a sturdy tripod, you can stabilize your camera firmly, eliminating blurriness and allowing for longer exposure times.
To achieve the right exposure, decrease the shutter speed and set your ISO between 100 to 800, depending on the lighting conditions. The ideal shutter speed can vary greatly, ranging from 1/60th of a second to several seconds, depending on the available light and your creative vision.
The key to obtaining the correct exposure is to consider both the shadows and highlights in the scene. Balancing the two will help you capture the full dynamic range of the low-light environment.
When you successfully capture the right shadows, you’ll be amazed at the excellent low-light scenes you can produce, earning you well-deserved compliments.
9. You Don’t Print Your Photographs
It’s unfortunate that many people don’t print their work enough, as there are countless benefits that come from holding a physical print of your photograph.
By printing your images, you gain a deeper understanding of your own photography. You start noticing details and elements that you may have missed when viewing your photos solely on a screen.
There’s a magical transformation that occurs when you see a print in person, something you can hold and touch. It presents your work in a completely different light, showcasing its true beauty and essence.
Printing your photos brings a sense of tangibility to your artistic creations. It allows you to appreciate your own physical work, rather than viewing it as just another digital file.
Printing your images not only helps you grow as a better photographer but also deepens your understanding and connection to the art of photography.
IT’S A PART OF THE PROCESS THAT’S A LITTLE BIT LOST THESE DAYS.
Also, check out:
- 10 Wedding Photography Tips For Photographers In A Hurry
- 6 Qualities of A Great Wildlife Photographer
- 8 Best Gifts For Photographers & Filmmakers In 2023