In this blog post, we’ll look into 5 essential tips to help you record high-quality audio outside the conventional studio environment.
Starting your outdoor audio recording journey can be both exciting and challenging. Capturing the pure essence of nature’s sounds, from the rustling leaves to the distant calls of wildlife, offers a unique experience unlike any studio recording.
However, outdoor environments come with their own set of challenges. To help you navigate these obstacles, we’ve compiled 5 essential audio recording tips for the outdoors. By following these simple yet effective tips, you’ll be able to enhance your outdoor recording skills and capture the authentic beauty of natural sounds.
1. Choosing The Right Equipment
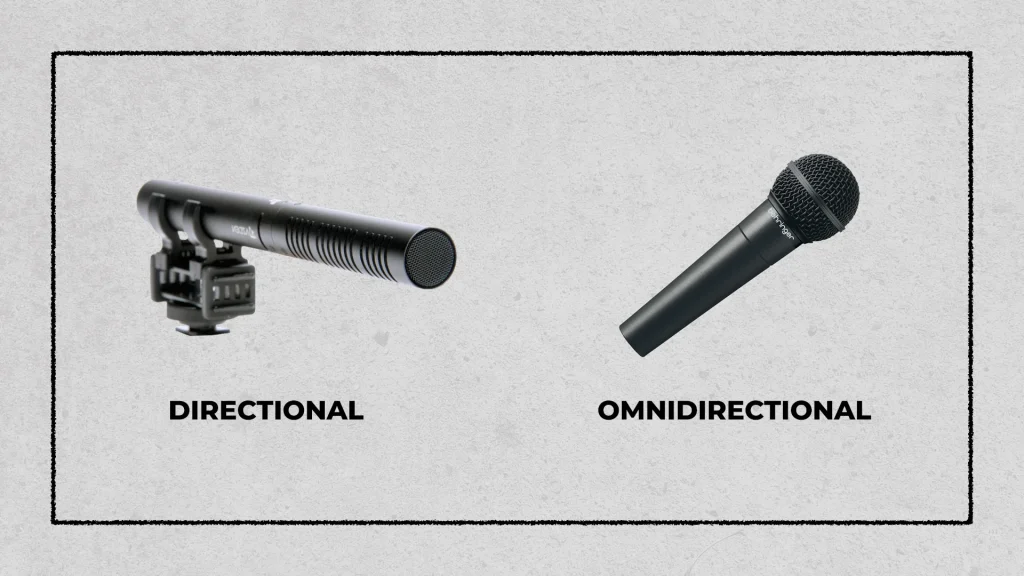
First things first, selecting the right equipment is important for outdoor recording. There are two main types of microphones you’ll come across:
- Directional – Directional mics, like shotgun microphones, are perfect for focusing on a specific sound source.
- Omnidirectional – Omnidirectional mics capture sound from all around, great for immersive environmental recordings.
When it comes to recorders, options range from handy portable recorders to professional field recorders with multiple inputs.
If you’re starting out, a simple, high-quality portable recorder is what you should be looking for. For more advanced needs, consider an outdoor audio recorder that offers more control over your recordings with multiple mic inputs and adjustable settings.
No matter your budget or project, the key is to know what you’re trying to record and select equipment that best suits those needs. A little research goes a long way in ensuring you’re equipped for success.
2. Setting Up For Success
Once you’ve got the right equipment, setting it up properly is your next step towards recording clean audio.
But here’s the thing – outdoor audio recording is unpredictable. You’re dealing with the elements, unexpected noises, and sometimes, the need to be constantly moving around. How do you prepare for that?
First, always monitor your audio with headphones. This might seem obvious, but it’s easy to get caught up in the moment and forget. Headphones give you real-time feedback on what you’re capturing, allowing you to adjust on the go.
Second, understand your equipment’s settings. Gain control is particularly important; set it too high, and you’ll get distortion, too low, and your recording might be too quiet. Experiment with your recorder and microphones at home to find a sweet spot before you head out.
Lastly, Hand-held recordings can introduce unwanted noise and vibrations. Use a tripod or a mic stand if you’re stationary, or a gimbal if you’re moving. This not only improves audio quality but also minimizes handling noise.
Setting up might take a few extra minutes, but it’s worth it for the quality of audio you can achieve. Remember, great outdoor audio recordings start before you even press record.
3. Battling The Wind
Wind can turn a beautiful outdoor recording into a noisy mess. But there are ways to fight back.
The first line of defense is a windscreen or a windjammer. These fluffy covers go over your mic and drastically reduce wind noise. For higher wind situations, consider using a blimp or a zeppelin enclosure, which offers more protection.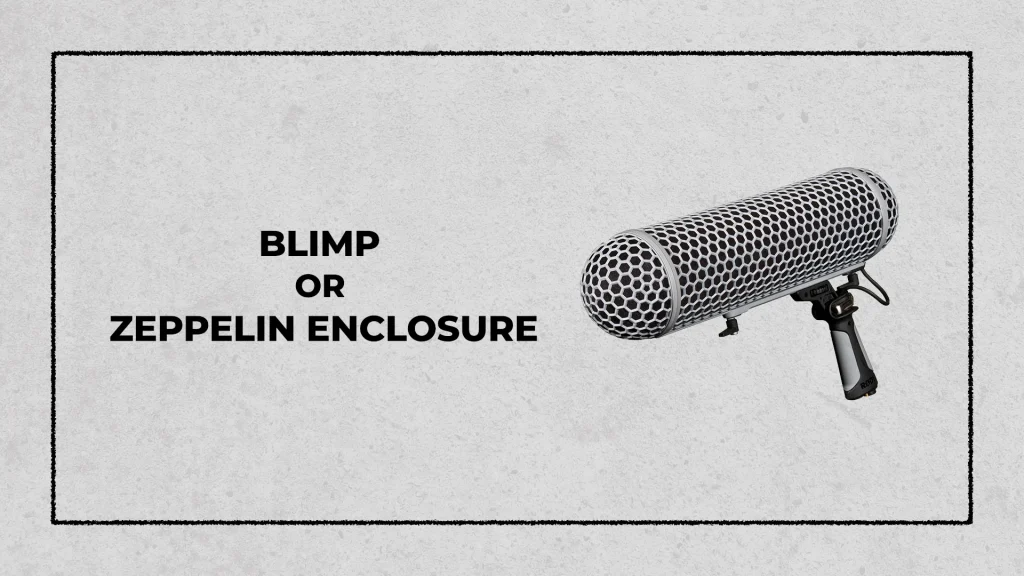
DIY solutions can also be surprisingly effective. A piece of faux fur or even a thick sock can be used as a windscreen. The goal is to break up the wind before it hits your mic.
Remember, some wind noise might be unavoidable, but with the right protection, it doesn’t have to ruin your recording. It’s all about minimizing the impact so your intended sound can shine through.
4. Isolating From Background Noise
Background noise can be just as challenging as wind. Whether it’s traffic, people talking, or nature sounds, it can distract from your main audio source. Here’s how to minimize it:
Positioning is everything. Aim your microphone away from the noise source if possible. Utilize directional microphones to focus on your sound source and reject sounds from other directions.
Timing is also crucial. Plan your recording sessions during quieter times of the day or night. Early mornings can be wonderfully quiet, even in busy areas.
Lastly, consider your surroundings. Soft surfaces absorb sound, so recording near grass or trees can reduce echo and background noise compared to concrete or water.
While some background noise can add to the ambiance, controlling it lets you capture the sounds you truly want.
5. Creative Approaches To Outdoor Recording
Outdoor audio recording is as much an art as it is a science. So, why not get creative? Here are a couple of ideas to inspire you:
Try binaural recording for a 3D audio experience. Using two microphones placed similarly to human ears, you can create immersive soundscapes that make the listener feel like they’re right there with you.
You can also try unconventional microphones, like contact mics, which pick up sound through solid objects. They can capture the world in ways traditional mics cannot, from the vibrations of a bridge to the hum of a refrigerator.
The beauty of outdoor recording lies in its ability to capture the unexpected. So, experiment, take risks, and most importantly, enjoy the process of discovering new sounds as every sound tells a story, and with these 5 tips, you’re ready to tell yours.
Also, check-out:
- Mastering Audio Repair With iZotope RX Elements: A Review
- 5 Best MAGIX Software For Video & Audio Editing