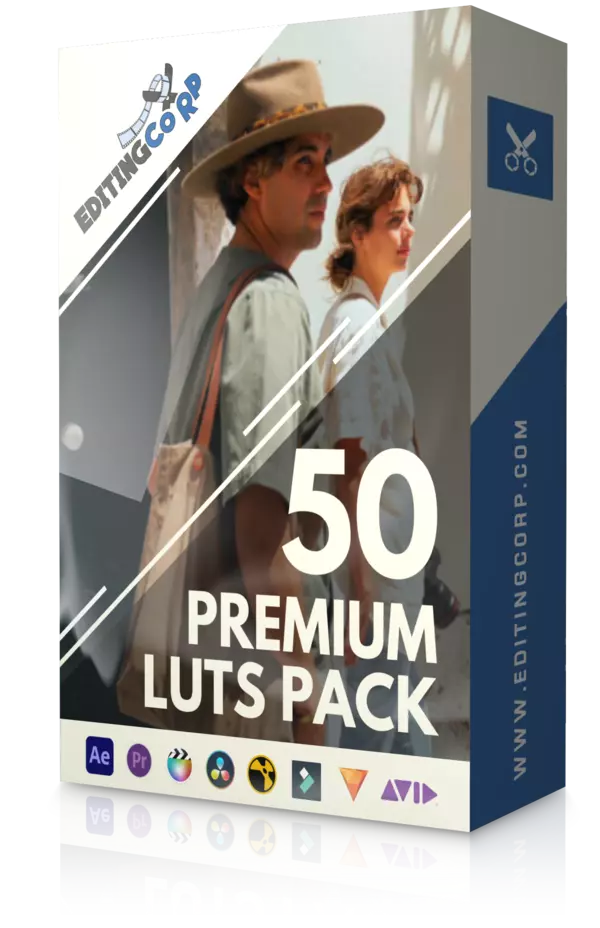
Enhance your video projects with the 50 Premium LUTs Pack for only $1.99! Instantly transform your footage into cinematic masterpieces.
Are you an aspiring filmmaker, content creator, or video enthusiast looking to elevate your visuals to the next level? Look no further! Download 50 Premium LUTs Pack, a game-changing collection of cinematic color-grading presets designed to transform your videos into visual masterpieces. Packed with professionally crafted looks, this bundle is your secret weapon for achieving stunning, high-quality footage with ease.

Unlock Unlimited Creative Possibilities
The 50 Premium LUTs Pack is a library of cinematic color grading presets, created by our team of experienced video editors and colorists.
With this pack, you gain access to an extensive range of looks, each carefully designed to evoke a specific mood, enhance your storytelling, and create a captivating visual experience. From vibrant and energetic to moody and atmospheric, the possibilities are endless!
Effortless Integration
We understand that time is precious, and that’s why we’ve ensured seamless compatibility with the most popular video editing software on the market.
Whether you’re using Adobe Premiere Pro, Final Cut Pro, DaVinci Resolve, or any other non-linear editing program, you can effortlessly integrate our LUTs into your workflow. With just a few clicks, you’ll have access to a vast palette of cinematic styles, drastically reducing your editing time while maximizing your creative output.
Unparalleled Quality
At an unbeatable price of just $1.99, the 50 Premium LUTs Pack offers exceptional value without compromising on quality. Each LUT has been crafted using advanced color science techniques, ensuring accurate and consistent results across various lighting conditions and camera profiles.
Rest assured, your videos will boast a professional-grade finish that will leave your audience captivated and craving for more.
User-Friendly And Customizable
We believe in empowering our users with ultimate control over their creative vision. Our LUTs are designed to be user-friendly, allowing even beginners to achieve outstanding results.
Furthermore, each LUT is fully customizable, giving you the flexibility to fine-tune the look to suit your specific needs. Adjust contrast, saturation, exposure, or any other parameter to add your unique touch and make each video truly your own.
Immerse Your Audience
With the 50 Premium LUTs Pack, you have the power to create an immersive visual experience that will leave a lasting impression on your audience.
Whether you’re working on a wedding video, a travel vlog, a short film, or a commercial project, our LUTs will transport your viewers to a world of rich colors, cinematic tones, and breathtaking atmospheres.
Stand out from the crowd and make your videos shine!
Take Your Videos To New Heights
Don’t miss out on the opportunity to take your video editing skills to new heights. With the 50 Premium LUTs Pack, you’ll have an extensive toolkit of cinematic looks at your fingertips, enabling you to effortlessly create visually stunning videos.
Elevate your storytelling, evoke emotions, and immerse your audience in an unforgettable visual journey. Get your hands on the 50 Premium LUTs Pack today and unleash your creative potential for just $1.99!
Also, check out:


