
Ever thought about creating a mobile app? Dive into our guide detailing 8 essential steps from idea inception to getting your app noticed.
Have you ever considered creating your own mobile app? If the answer is yes, then this article is tailor-made for you. Here, we will guide you through 8 simple steps to craft a mobile app.
Whether you’re a novice or an experienced software developer, these detailed steps will lead you through the development process, transforming your idea into a mobile application accessible to users worldwide.
1. What Kind of Mobile App Do You Want To Make?

First, consider the type of mobile application you wish to create.
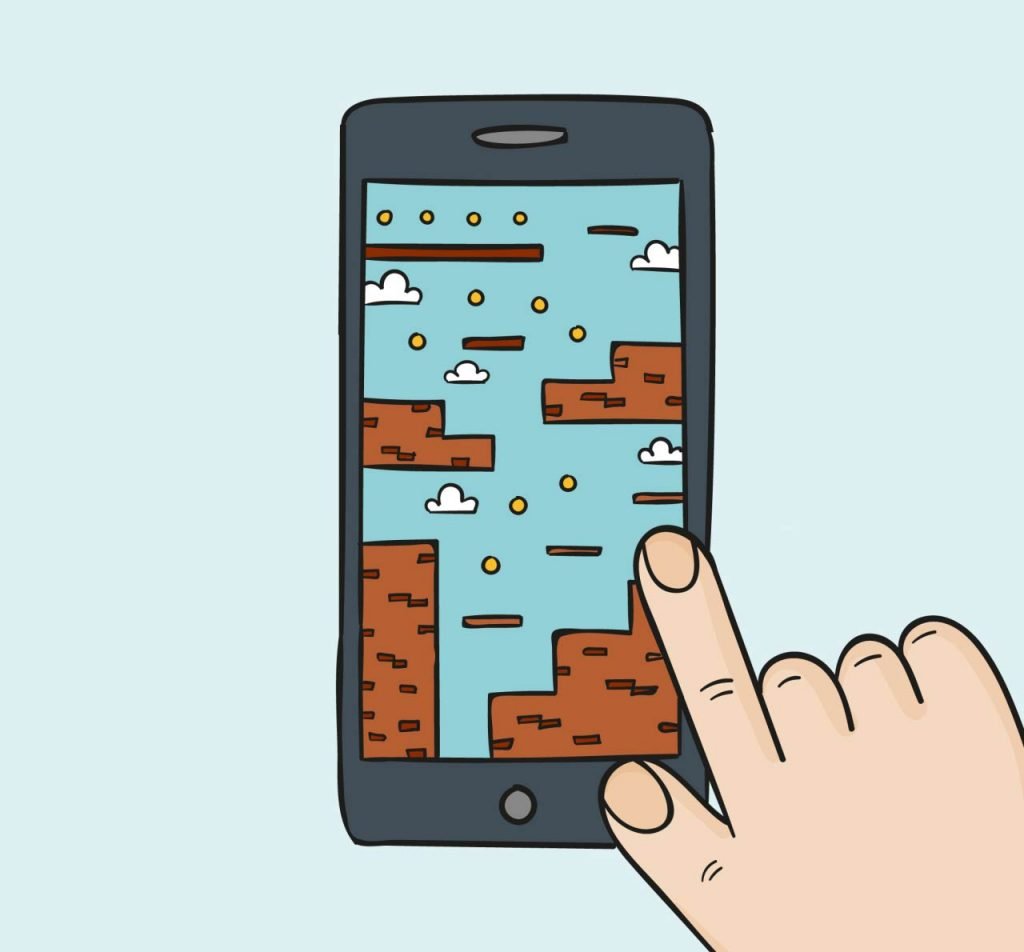
Apps come in various forms and functionalities, from music streaming and weather updates to gaming, social networking, stock monitoring, and much more.
Contemplate an idea that personally interests or benefits you. If your friends find it useful, chances are others will too.
2. What Will Your App Do?
Now that you’ve decided the type of app you want to design, consider its primary function. Write a concise description outlining the main purpose or objective of this software.
Will it be an entertainment-focused game, a practical tool like a recipe book, or perhaps something educational? Remember, keep it straightforward and concentrate on one aspect at a time.
3. What Is Your App Going To Be Called?

Now that you have a brief description of its function, consider a name for the app. While you should avoid choosing anything too frivolous or inappropriate, don’t hesitate to get creative!
The objective isn’t solely about having a catchy title. Avoid using copyrighted names and aim for simplicity to ensure it’s easily memorable.
4. What Will Your App Look Like?

Now, consider the visual aspect of your application. Will your app be text-based, or will it include graphics, icons, and other visual elements?
There are numerous free resources available for inspiration; if needed, browse apps in the app store. However, ensure you don’t directly replicate any artwork, as this could lead to copyright issues in the future.
Check out: 6 Websites To Download Free Illustrations For Commercial Use
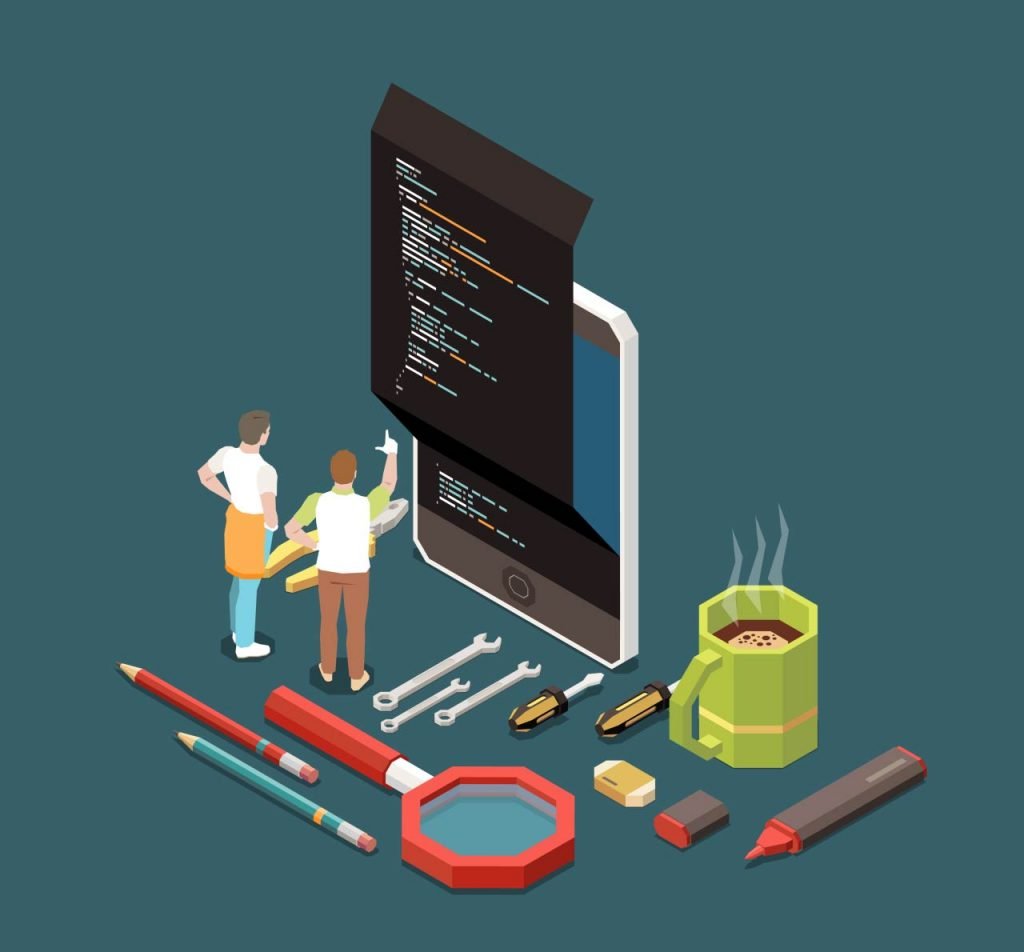
5. What Language Will Your App Be Written In?

Now that you have a clear understanding of the software’s function, appearance, and name, it’s time to determine the programming languages required for this project.
There are numerous languages to choose from, so select one or two based on your expertise level. For beginners, HTML & CSS are commonly recommended due to their simplicity. However, if you seek more robust capabilities, consider C++ or Java.
Once you’re comfortable with these foundations, you can explore other options such as Swift (exclusive to iOS), Python, JavaScript, and more.
6. What Resources Do You Need?
Now that we have the details in place, it’s time to gather some resources. Consider investing a bit in an Apple Developer account so that you can offer your app on the App Store.
Although there’s an associated cost, it’s relatively minimal compared to the overall software development expense. After the first year, it’s just $99 annually, which is quite reasonable.
You’ll also need a Mac computer. Unfortunately, for Windows users, for the time being, iOS app development is exclusive to Mac machines.
Once everything is configured, connect your device via USB and dive into programming. Remember, any bugs or errors encountered during the process need to be addressed and resolved.
7. What Do You Need To Start Developing?
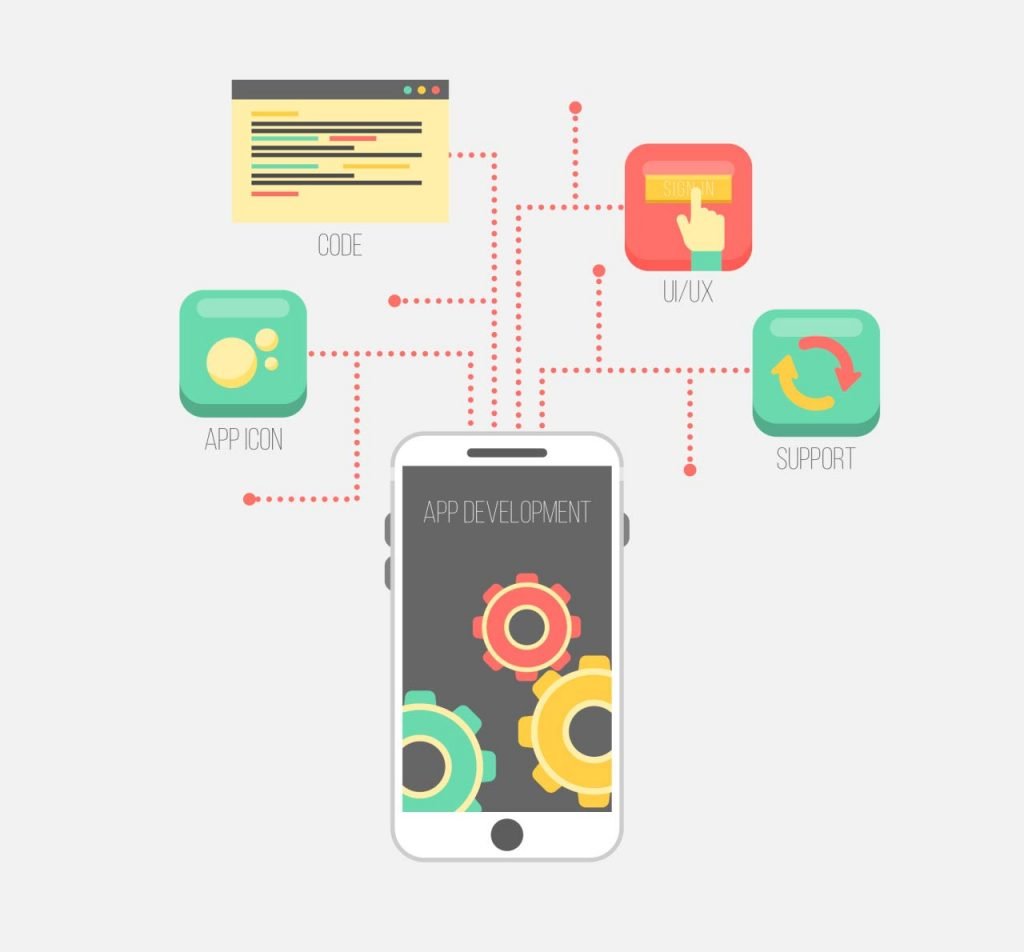
Once everything is set up, you’re ready to begin. If you have a concept for a mobile app, there are several preparatory steps before the actual software development can commence.
Firstly, the coding for your project needs to be organized. Organized code facilitates smoother changes or updates in the future.
Consider how most software functions: they typically comprise various sub-functions (or smaller components) that integrate into a cohesive whole during runtime. Such modular design also enhances reusability, as individual components can be repurposed elsewhere without disrupting other concurrent code segments.
Subsequently, you’ll need some form of documentation to clarify each segment’s purpose. This can range from simple in-code comments, which greatly assist other developers, to a detailed guide elaborating on the interplay of all components.
The last step involves debugging. This phase typically kicks off when your program is operational and in use.
At this juncture, the objective is to identify and rectify errors identified during testing. You can address these by adjusting the existing code or, if necessary, integrating a new function. Continuously test and refine until no issues remain.
8. How Will People Find Your App?
Now that you have the finished product, how will users discover it? Unlike websites that can be immediately indexed by search engines, apps require additional efforts to gain traction.
There are various methods to promote new software, but here’s what most developers typically employ:
App Store Optimization (ASO) – This is primarily an online strategy that involves using keywords within platforms like iTunes Connect or the Google Play Developer Console, enabling potential customers to find new apps more easily.
While SEO practices are relevant here, as they are with regular websites, it’s crucial not to directly replicate anyone else’s content, as this would infringe on copyright laws. Aim for a unique proposition that distinguishes your app from the myriad others; this distinctiveness often encourages more downloads.
Offline marketing, including flyers, social media posts (on platforms like Facebook and Twitter), and advertising campaigns on mobile-centric websites, can also be effective. While such offline endeavors can be beneficial initially, online strategies often yield more substantial results in the long run.
Now that you have all the essential tools to create your own app, it’s time to dive in. While there are numerous technical aspects to grasp as you progress, creating mobile apps for beginners isn’t overly challenging.
It primarily involves initiating a project you’re passionate about and tackling each stage step by step. If this is your inaugural app, it’s wise to begin with a modest project until you gain more experience.